This is a follow up to my post on setting up a React-Django web app. You can take a quick glance if you’ve not seen it yet.
TL;DR: The setup is deployed at http://react-django.herokuapp.com (nothing much there actually) and the code at https://github.com/nicholaskajoh/React-Django.
We’re going to be deploying the app we setup in the previous post on Heroku. Heroku is a popular cloud hosting platform (PaaS) and offers a generous free tier which we’ll be using.
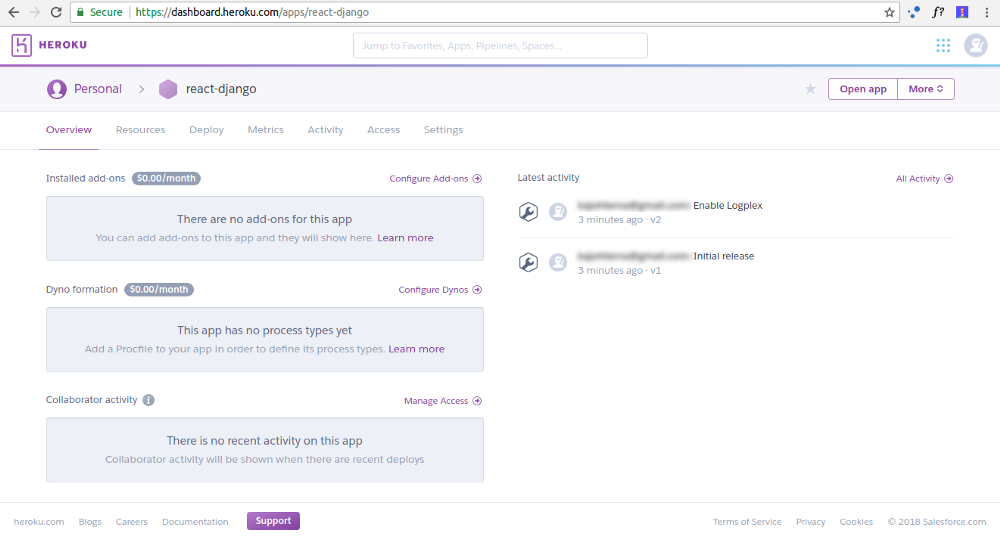
Heroku dashboard
First things first. You need a Heroku account. Head over to Heroku.com and sign up/login, then go to your dashboard at https://dashboard.heroku.com and create a new app.
Heroku CLI
There are a couple deploy methods to choose from on Heroku (visit the deploy tab on the app page on the dashboard). Here, we’ll use the Heroku Git method via the Heroku CLI. You can use this guide to learn how to set up Heroku CLI on your OS.
Now, let’s link our project to the Heroku app we created using the Heroku CLI and Git.
- Initialize a Git repository in the root folder of the project with
git init(you need to have Git installed on your computer). - Login with your Heroku account on the CLI using
heroku login. - Add the Heroku remote via
heroku git:remote -a your-heroku-app.
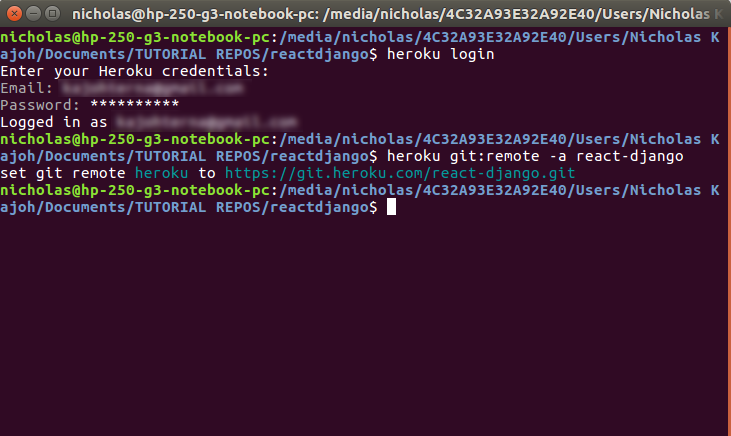
I already initialized Git in the project prior to this.
Heroku buildpacks
The React app build process depends on NPM, so we need Node.js. We also need Python to run Django.
Heroku uses buildpacks to transform deployed code into slugs which can be executed by Dynos (server instances on Heroku). We’ll be needing two buildpacks. One for Node and another for Python.
Our app would run on a Python server, even though we’ll use Node/NPM to build/bundle the React frontend. So the Python buildpack will be the main one in our config. The main buildpack determines the process type of the Heroku app. You can read about multiple buildpacks to understand how they work.
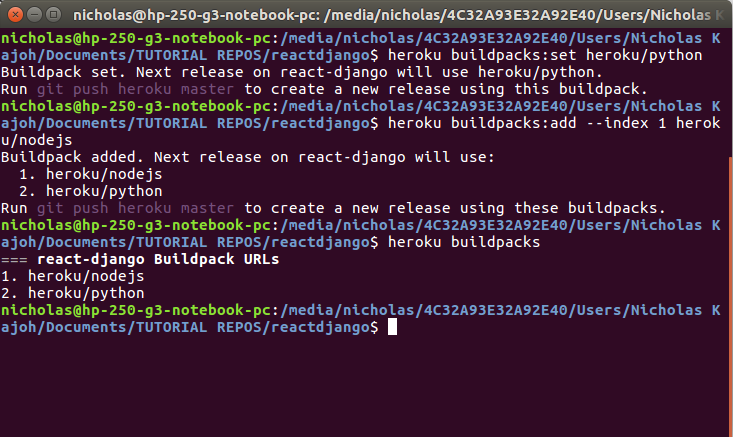
You can add buildpacks via the Heroku CLI. Head back to your terminal and run the following to set/add the buildpacks we need.
heroku buildpacks:set heroku/python
Now add the buildpack for Node.js.
heroku buildpacks:add --index 1 heroku/nodejs
We can see the buildpacks we’ve added by running heroku buildpacks. The last buildpack on the list determines the process type of the app.
package.json
We need to tell the Node.js buildpack to build the React app after it has installed Node and NPM. We can do this by adding the build command npm run build in the postinstall hook.
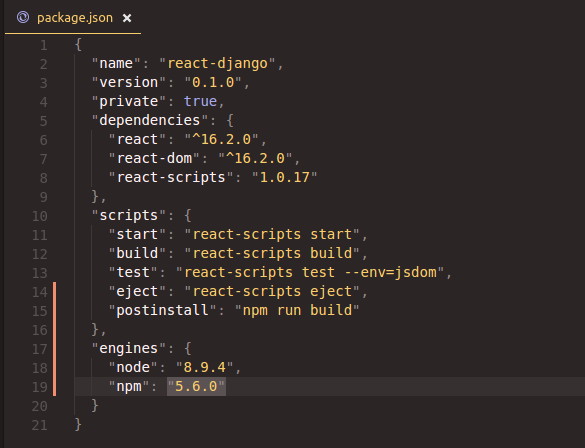
See postinstall under scripts
Notice that I specified Node and NPM versions in engines. The buildpack will install these exact versions. It’s highly recommended you use the versions running on your PC to avoid errors from a version that might be incompatible with your code.
Procfile
Create a file called Procfile (no file extension) in the project root and add the following code:
release: python manage.py migrate
web: gunicorn reactdjango.wsgi --log-file -
Replace reactdjango.wsgi with YOUR-DJANGO-APP-NAME.wsgi.
requirements.txt
The Python buildpack, after installing Python looks for requirements.txt to install the dependencies in it. Add the following to the requirements file, including all the other dependencies your Django app needs.
django>=2.1.2
gunicorn==19.7.1
whitenoise==3.3.1
PS: Whitenoise helps to serve static files and Gunicorn is the HTTP server we’ll be using.
By the way, you can specify the Python version you want by adding it to a file named runtime.txt in the project root.
python-3.5.2
Configure whitenoise to serve static files by doing the following:
Add static root and static files storage in settings.py
BASE_DIR = os.path.dirname(os.path.dirname(os.path.abspath(__file__)))

STATIC_ROOT = os.path.join(BASE_DIR, 'staticfiles')
STATICFILES_STORAGE = 'whitenoise.django.GzipManifestStaticFilesStorage'
Add whitenoise to your wsgi.py file.
import os
from django.core.wsgi
import get_wsgi_application
from whitenoise.django import DjangoWhiteNoise

os.environ.setdefault("DJANGO_SETTINGS_MODULE", "reactdjango.settings")

application = get_wsgi_application()
application = DjangoWhiteNoise(application)
Allowed hosts
In your settings.py, you need to add your Heroku domain to allowed hosts.
ALLOWED_HOSTS = ['react-django.herokuapp.com', '127.0.0.1:8000']
NB: I personally prefer to add allowed hosts using environment variables e.g with python-dotenv.
Commit, push
It’s time to commit and push the changes. Phew!
git add .
git commit -m "blah blah blah"
git push heroku master
After the build is done and your app has been released, visit YOUR-APP-NAME.herokuapp.com. Neat!
Two libraries you might find really helpful when building your Django API are Django Rest Framework and Django CORS Headers. You should check them out!
If you had any issues deploying please share in the comments. A lot of times, things don’t work the first time.
Last modified on 2023-03-14